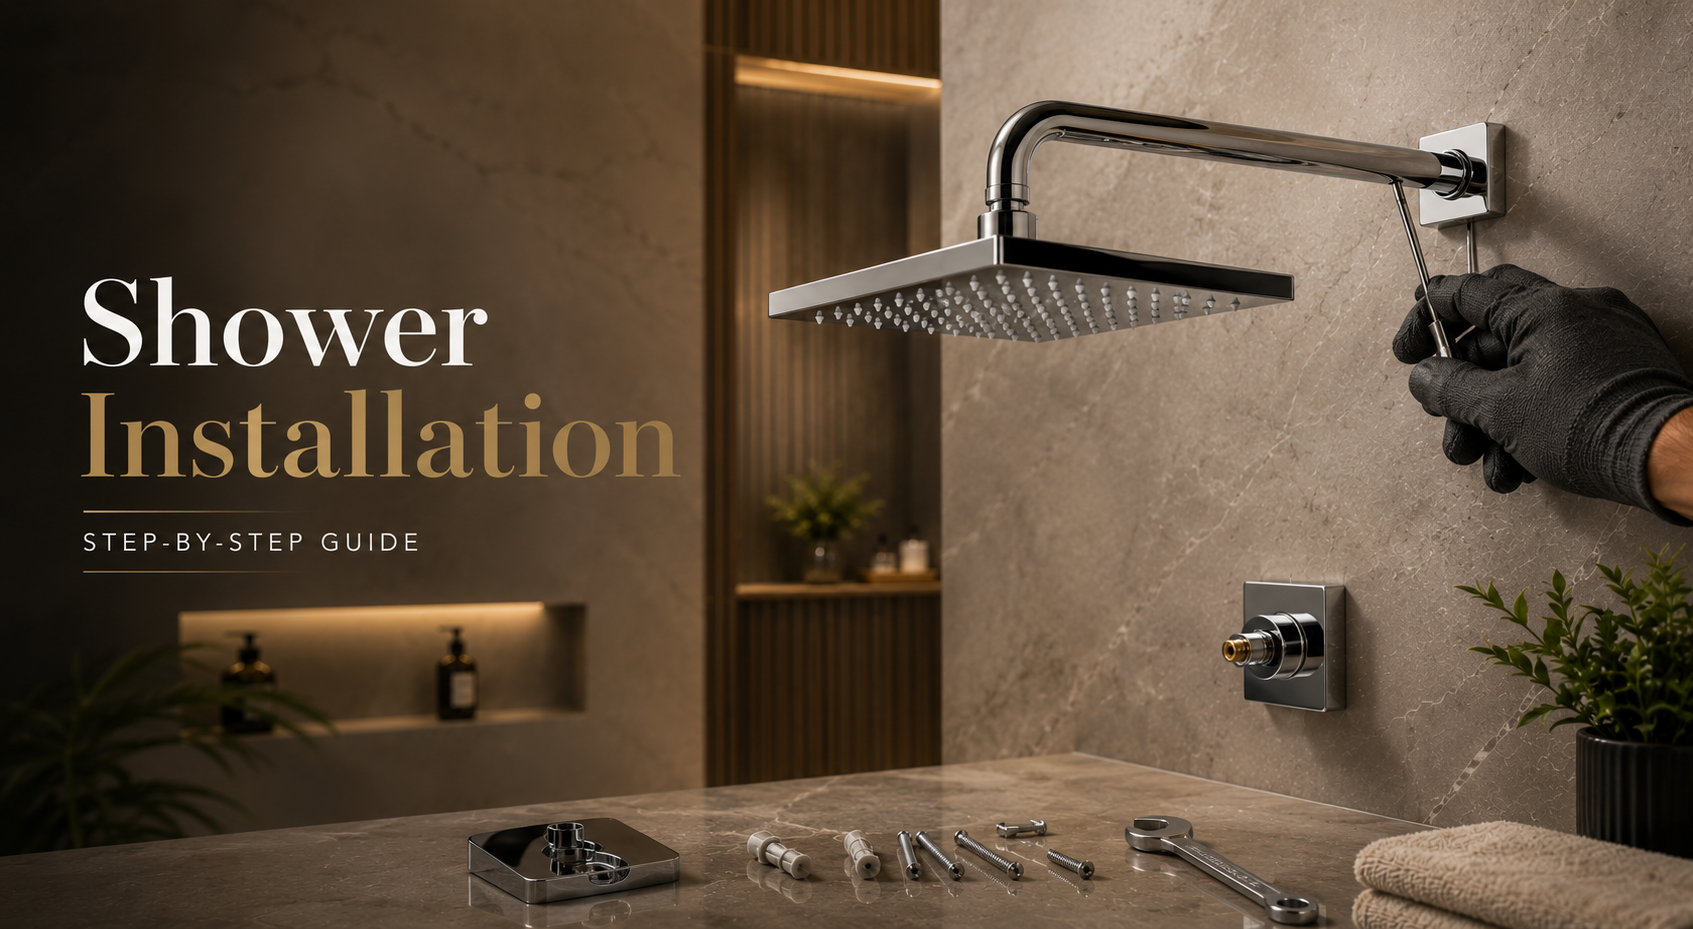
Replacing an overhead shower can be a Quick & Easy Installation when the existing wall outlet is sound and the new components are compatible. It still requires normal plumbing care: isolate the water, protect the finish, seal only the correct threaded joints and stop if a concealed connection moves or leaks.
Before you open the package
Confirm whether you bought a complete set or a shower-head-only model. A complete set should contain the shower head, arm and decorative flange listed on the product page. A shower-only package expects a compatible arm to be present already. Check the finish for transit damage and compare the connection before removing the old fitting.
Most domestic shower connections use a common threaded format, but “common” is not a guarantee. Older Indian bathrooms, imported fittings and locally modified plumbing can differ. Never force parts that do not start cleanly by hand.
Tools and materials
- Adjustable wrench or correctly sized spanner
- PTFE thread-seal tape, if required for the threaded joint
- Soft cloth to protect plated surfaces
- Bucket or towel for residual water
- New shower head and, for a complete set, the matching arm and flange
Step 1: Isolate and verify the water supply
Close the bathroom branch valve or main supply that feeds the shower. Operate the shower control briefly to confirm the flow has stopped and to release residual water. Do not rely only on the control handle if work involves the wall outlet; a proper isolation valve is safer.
Step 2: Remove the old shower head or arm
If you are replacing only the shower head, support the arm so the force does not transfer into the wall. Turn the connector steadily without jerking. If you are changing the arm, remove it from the wall outlet with controlled force. A fitting that will not move, a wall outlet that rotates, or crumbling sealant around the opening is a reason to stop and call a plumber.
Step 3: Inspect and clean the threads
Remove loose remnants of old thread tape without scoring the threads. Check for cracks, flattened threads, corrosion and dirt. The new arm should begin threading smoothly by hand. Cross-threading can feel tight immediately and can damage both components; back it out rather than using a wrench to force alignment.
Step 4: Seal the threaded wall connection
Where the connection relies on thread sealing, wrap PTFE tape neatly in the tightening direction so it does not unravel as the arm is fitted. Keep tape away from the open waterway. The correct amount depends on the thread condition and tape specification, so follow the component instructions instead of relying on a universal wrap count.
Some shower-head connections seal with a rubber washer rather than PTFE tape. A washer-based joint needs the washer seated flat and undamaged; adding tape to the wrong location can prevent the seal from compressing correctly.
Step 5: Install the arm and flange
Slide the decorative flange onto the arm in the correct orientation before installing the arm. Start the arm by hand and turn it until secure and correctly aligned. If a tool is needed for final adjustment, protect the finish with a soft cloth and avoid overtightening. The flange should sit neatly against the wall, but it is decorative—any water leak must be corrected at the threaded connection behind it.
Step 6: Attach and align the shower head
Fit the supplied washer if the product uses one, then start the shower connector by hand. Tighten only enough to create a secure, leak-free joint. Use the swivel ball joint to set the spray angle after the connection is secure; do not use the shower face as a lever for tightening the threaded arm.
Step 7: Restore water and test
Open the isolated supply gradually. First inspect the wall joint and shower-head connector with the shower off, then run the shower at a normal setting. Dry the joints and watch for fresh moisture. A continuing drip can mean a displaced washer, damaged thread, insufficient or incorrectly applied seal tape, or a loose connection—not simply a need for more force.
| Symptom | Likely check | Safe next step |
|---|---|---|
| Drip at shower-head joint | Washer position, connector alignment or thread seal. | Isolate water, refit correctly and replace a damaged washer. |
| Drip from wall opening | Arm-to-wall thread or concealed outlet. | Stop use and inspect; call a plumber if the concealed outlet may be involved. |
| Uneven spray | Debris introduced during work or blocked nozzles. | Flush safely and gently clean flexible nozzles. |
| Weak overall flow | Valve position, inlet restriction, tank height or plumbing losses. | Check the supply before changing to a larger shower or adding a pump. |
| Arm will not align | Thread engagement, tape thickness or incompatible components. | Do not force it; remove, inspect and seek professional help if uncertain. |
Pressure, tank height and shower size after installation
If the new shower leaks nowhere but feels weak, installation may not be the fault. In a gravity-fed home, the vertical distance from the overhead tank water level to the shower affects available pressure. Bends, restrictive valves, narrow or scaled pipes and simultaneous use reduce what reaches the head. For lower pressure, a smaller or focused shower generally feels stronger than a large rain shower. Larger faces are better suited to adequate pressure or a correctly designed pump system.
Review how shower size and pressure work together before changing the fitting. If a pump is being considered, have a plumber confirm the safe operating limits of the pipework and connected products.
Care after fitting
Wipe the finish with a soft cloth, gently clean easy-clean nozzles and avoid abrasive pads or harsh chemicals. In hard-water areas, early removal of light deposits helps maintain the spray pattern. Our hard-water care guide explains the routine in detail.
Frequently asked questions
Can I install an overhead shower without tools?
Do not assume that. A normal installation may require PTFE tape, a wrench or spanner and a cloth to protect the finish. Difficult or concealed work should be handled by a plumber.
Do I use PTFE tape on every connection?
No. Use it on threaded joints designed to be thread-sealed. Connections that seal with a washer should follow the product instructions.
How tight should the shower arm be?
It should be secure, aligned and leak-free without being forced. Overtightening can damage threads or concealed plumbing.
Why does the flange not stop a leak?
The flange is a decorative cover. The watertight joint is at the threaded wall connection behind it.
When should I call a plumber?
Call one if the wall outlet moves, threads are damaged, a leak appears inside the wall, isolation is uncertain or the installation requires pressure-system changes.
Choose a complete shower set with a compatible arm and flange, or a shower-head-only replacement.
Browse Overhead Showers